在为自己的一加6刷上PostmarketOS后突然某一天想使用它的照相机功能。原因是想到使用pmos拍照后笔者可以直接使用scp指令来传输手机相片到自己运行着GNU/Linux的电脑上,就感到相对便捷。但是在官方维基百科上看来OP6(一加6)的摄像功能还未进入release[0],因为想看一下目前的摄像功能已经到哪一步了,也可能是因为想折腾些东西了,于是花了些时间研究怎么才能自己编译内核然后丢到OP6中。完成编译后总结就是摄像头不完善,是可以拍照的但有些许问题,但笔者认为这依然是一个很大的成就。在这里也感谢pmos的开发者的奉献,让人们能使用上相对更加free(自由)的软件。因为编译过程感觉比较有趣,遂有了这篇随笔。
因为本随笔介绍的是如何编译最新的源码,因此这意味着编译出来的内核是不稳定的,风险需要个人承担。要想安装稳定的PostmarketOS请查看别的教程,或者到官方维基页面查看[7]。
对于想自己捣鼓的读者笔者在这里放了自认为有用的链接以供参考:
https://wiki.postmarketos.org/wiki/Compiling_kernels_with_envkernel.sh
https://wiki.postmarketos.org/wiki/Pmbootstrap
https://wiki.postmarketos.org/wiki/OnePlus_6_(oneplus-enchilada)#Camera
https://wiki.postmarketos.org/wiki/SDM845_Mainlining
https://wiki.postmarketos.org/wiki/User:Magdesign#Compile_Kernel
正如官方所说的[1],pmboostrap是一个专为PostmarketOS开发使用的命令行应用。笔者使用的是Arch遂用如下指令下载:
sudo pacman -S pmbootstrap
然后需要初始化一下:
pmbootstrap init
然后要回答一些问题:
问得是work和pmaports的路径,笔者直接Enter选择默认
[09:46:02] Location of the 'work' path. Multiple chroots (Native, device arch, device rootfs) will be created in there.
[09:46:02] Work path [/home/user/.local/var/pmbootstrap]:
[09:46:48] Location of the 'pmaports' path, containing package definitions.
[09:46:48] pmaports path [/home/user/.local/var/pmbootstrap/cache_Git/pmaports]:
官方说除非你的设备在main或community的范围内,否则应该选edge[2]。笔者因为本来就是为了体验最新的东西的,遂选择edge:
[09:46:51] Choose the postmarketOS release channel.
[09:46:51] Available (11):
[09:46:51] * edge: Rolling release / Most devices / Occasional breakage: https://postmarketos.org/edge
[09:46:51] * v24.12: Latest release / Recommended for best stability
[09:46:51] * v24.06: Old release (unsupported)
[09:46:51] Channel [edge]:
然后是设备,笔者的是一加遂选oneplus:
[09:52:52] Choose your target device vendor (either an existing one, or a new one for porting).
[09:52:52] Available vendors (94): acer, alcatel, amazon, amediatech, amlogic, apple, ark, arrow, asus, ayn, bananapi, beelink, bq, clockworkpi, cubietech, cutiepi, dongshanpi, epson, essential, fairphone, finepower, fly, fxtec, generic, Goclever, google, gp, hisense, htc, huawei, inet, infocus, jolla, khadas, klipad, kobo, lark, leeco, lenovo, lg, librecomputer, linksys, mangopi, medion, meizu, microsoft, mobvoi, motorola, nextbit, nobby, nokia, nvidia, odroid, oneplus, oppo, ouya, pine64, planet, pocketbook, postmarketos, powkiddy, purism, qcom, qemu, qualcomm, radxa, raspberry, realme, samsung, semc, sharp, shift, sipeed, solidrun, sony, sourceparts, surftab, t2m, thundercomm, tokio, tolino, trekstor, valve, vernee, vivo, volla, wexler, wiko, wileyfox, xiaomi, xunlong, yu, zte, zuk
代码名因为是一加6遂选enchilada[3]:
[09:54:02] Available codenames (16): bacon, billie2, cheeseburger, dumpling, enchilada, fajita, guacamole, hotdogb, instantnoodlep, kebab, lemonade, lemonadep, oneplus2, oneplus3, oneplus3t, onyx
用户名和Wifi后端就直接Enter选择默认了:
[09:56:44] Username [user]:
[09:56:46] Available providers for postmarketos-base-ui-wifi (2):
[09:56:46] * wpa_supplicant: Use wpa_supplicant as the WiFi backend. (default)
[09:56:46] * iwd: Use iwd as the WiFi backend (but may not work with all devices)
[09:56:46] Provider [default]:
用户界面的话因为笔者的一加6已经是一个带Phosh的pmos了,因为我们这次只是为了kernel,遂选择console:
...
[09:58:06] User interface [console]:
接下来的问题就直接Enter选择默认应该不会有什么问题的[4]。
看到如下就完成初始化了。
[10:03:11] DONE!
因为大多数电脑的芯片架构跟手机的芯片架构不一样,比如笔者的电脑是amd64而一加6的是aarch64,因此会涉及到交叉编译的内容。而交叉编译简单来说就是在计算机上编译能在另一个架构不同的计算机上运行的软件。而pmos社区必然会遇到这类问题,而正如官方所言,envkernel.sh就是为了让编译更加方便而诞生的。它能在电脑上设置一个Alpine Linux环境然后通过改变环境变量以及利用alias来使make指令使用交叉编译器(cross compiler)[5]。
接下来就先把要用的内核源码clone一下,一加6的是sdm845,所以是这个链接。
在命令行跑:
git clone https://gitlab.com/sdm845-mainline/linux.git
因为envkernel.sh在pmbootstrap的git里,我们也要clone下来:
pmbootstrap init
0进入Linux源码文件夹,并且source envkernel.sh:
pmbootstrap init
1
然后就会开始初始化Alpine chroot:
pmbootstrap init
2接下来我们就会看到prompt前面都会有一个[envkernel] 那就代表我们正在chroot中。在chroot时我们的make指令都会使用交叉编译器。想从chroot中退出直接打deactivate就行。
接下来我们先打deactivate退出来,运行这条指令:
pmbootstrap init
3
我们会看到:
pmbootstrap init
4
请注意这一条:
pmbootstrap init
5这个IMX519就是一加6的摄像头传感器,把它关掉的原因可以看到是:
pmbootstrap init
6嗯目前用不了,不过因为笔者好奇用不了到什么程度所以我们用以下指令把这个commit给revert掉:
pmbootstrap init
7然后我们再查看一下git log --oneline:
pmbootstrap init
8可以看到多了一个revert的commit。然后我们用刚刚的source指令再次进入chroot。使用如下指令来搞定默认配置先:
pmbootstrap init
9这样子就会用sdm845.config把defconfig给覆写掉,接下来运行make menuconfig然后按/搜索IMX519,我们会看到IMX519被配置为模块了:
[09:46:02] Location of the 'work' path. Multiple chroots (Native, device arch, device rootfs) will be created in there.
[09:46:02] Work path [/home/user/.local/var/pmbootstrap]:
[09:46:48] Location of the 'pmaports' path, containing package definitions.
[09:46:48] pmaports path [/home/user/.local/var/pmbootstrap/cache_Git/pmaports]:
0
接下来就可以开始编译啦!运行:
[09:46:02] Location of the 'work' path. Multiple chroots (Native, device arch, device rootfs) will be created in there.
[09:46:02] Work path [/home/user/.local/var/pmbootstrap]:
[09:46:48] Location of the 'pmaports' path, containing package definitions.
[09:46:48] pmaports path [/home/user/.local/var/pmbootstrap/cache_Git/pmaports]:
1
想快一些可以运行 (n是线程数量):
[09:46:02] Location of the 'work' path. Multiple chroots (Native, device arch, device rootfs) will be created in there.
[09:46:02] Work path [/home/user/.local/var/pmbootstrap]:
[09:46:48] Location of the 'pmaports' path, containing package definitions.
[09:46:48] pmaports path [/home/user/.local/var/pmbootstrap/cache_Git/pmaports]:
2
然后是等待...
编译完成后,用下面的指令打包内核[6]:
[09:46:02] Location of the 'work' path. Multiple chroots (Native, device arch, device rootfs) will be created in there.
[09:46:02] Work path [/home/user/.local/var/pmbootstrap]:
[09:46:48] Location of the 'pmaports' path, containing package definitions.
[09:46:48] pmaports path [/home/user/.local/var/pmbootstrap/cache_Git/pmaports]:
3在~/.local/var/pmbootstrap/packages/edge/aarch64/中可以看到打包好的内核,笔者的内核包文件名是:
[09:46:02] Location of the 'work' path. Multiple chroots (Native, device arch, device rootfs) will be created in there.
[09:46:02] Work path [/home/user/.local/var/pmbootstrap]:
[09:46:48] Location of the 'pmaports' path, containing package definitions.
[09:46:48] pmaports path [/home/user/.local/var/pmbootstrap/cache_Git/pmaports]:
4将一加6用数据线跟电脑连接,确保手机的sshd已经打开:
[09:46:02] Location of the 'work' path. Multiple chroots (Native, device arch, device rootfs) will be created in there.
[09:46:02] Work path [/home/user/.local/var/pmbootstrap]:
[09:46:48] Location of the 'pmaports' path, containing package definitions.
[09:46:48] pmaports path [/home/user/.local/var/pmbootstrap/cache_Git/pmaports]:
5
运行下面的指令将我们自己编译的pmos内核包安装上去:
[09:46:02] Location of the 'work' path. Multiple chroots (Native, device arch, device rootfs) will be created in there.
[09:46:02] Work path [/home/user/.local/var/pmbootstrap]:
[09:46:48] Location of the 'pmaports' path, containing package definitions.
[09:46:48] pmaports path [/home/user/.local/var/pmbootstrap/cache_Git/pmaports]:
6接下来就是确认安装是否成功,ssh到手机里跑下面的命令:
[09:46:02] Location of the 'work' path. Multiple chroots (Native, device arch, device rootfs) will be created in there.
[09:46:02] Work path [/home/user/.local/var/pmbootstrap]:
[09:46:48] Location of the 'pmaports' path, containing package definitions.
[09:46:48] pmaports path [/home/user/.local/var/pmbootstrap/cache_Git/pmaports]:
7
笔者这边显示的是:
[09:46:02] Location of the 'work' path. Multiple chroots (Native, device arch, device rootfs) will be created in there.
[09:46:02] Work path [/home/user/.local/var/pmbootstrap]:
[09:46:48] Location of the 'pmaports' path, containing package definitions.
[09:46:48] pmaports path [/home/user/.local/var/pmbootstrap/cache_Git/pmaports]:
8
也就是刚刚打包好的内核,这就说明成功了!
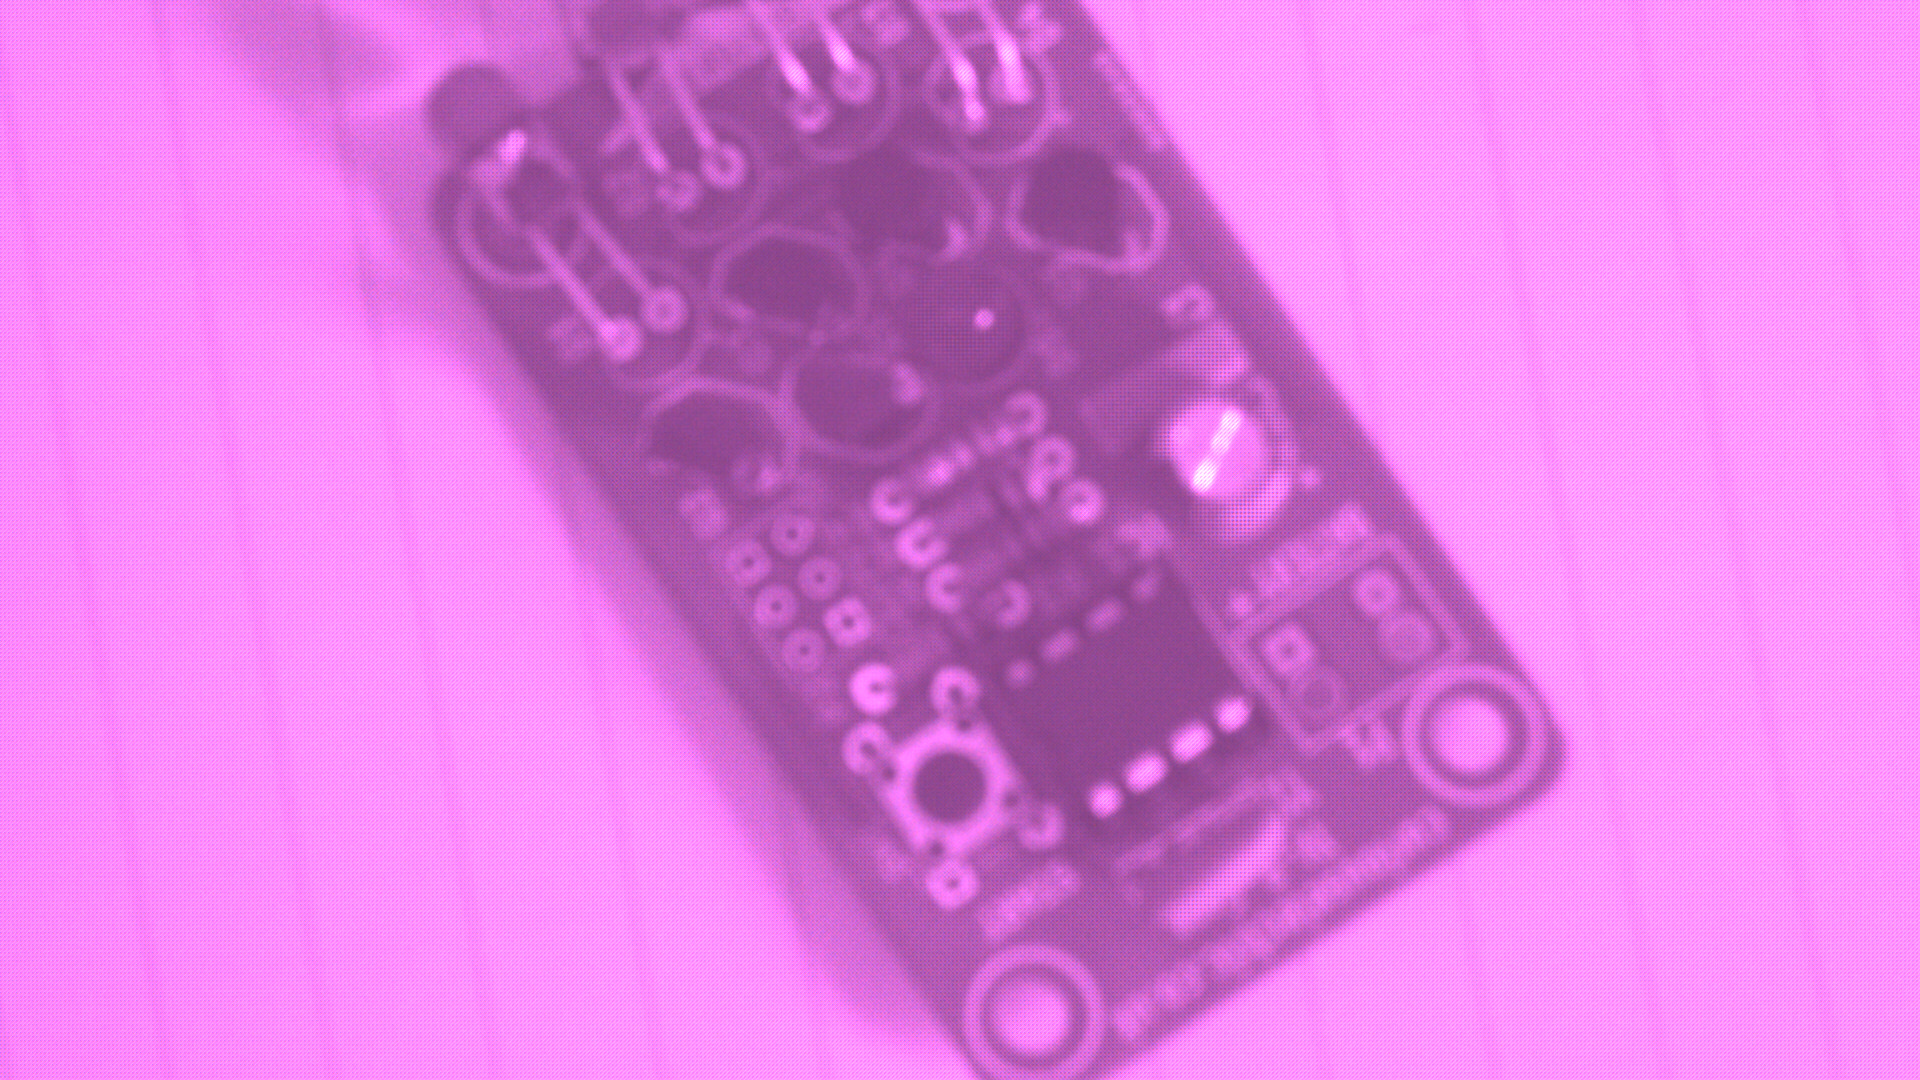
因为笔者的目的是观摩一下Postmarket OS对一加6摄像功能最新进展如何,以下是一些照片演示与截屏
前置摄像头:
最明显的问题应该是拍出来是自带紫色的。
后置摄像头:
后置摄像头就自带一种怀旧的颜色了。

运作正常的摄像功能见多了后看到运作不正常的摄像感觉有些有趣。编译过程还是比较有趣的,pmbootstrap帮助开发者减少了很多交叉编译的麻烦。在这里向pmos的开发者们致敬。
作者:chenw1
链接:https://www.cnblogs.com/chenw1/p/18766766
本文来自博客园,欢迎转载,但请注明原文链接,并保留此段声明,否则保留追究法律责任的权利。